This is an old revision of the document!
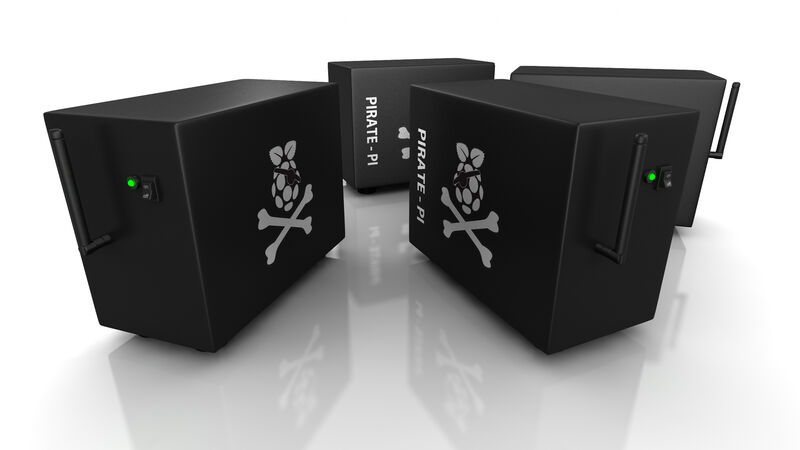
Raspberry Pi(rate)Box
Raspberry Pi(rate)Box 1.0 is now available for download via BitTorent! See our easy DIY instructions below for details on how to build your own Pi(rate)Box. And learn more about the PirateBox project here.
PirateBox 1.0 Features
Responsive design for ease of use with phones and tablets; UPnP Media Server for local streaming of movies and songs; Image and Message Board for 4chan-like functionality; chat room for anonymous communications; browser-based file sharing system!
PirateBox Raspberry Pi DIY
PirateBox is an anonymous offline mobile file-sharing and communications system built with free software and inexpensive off-the-shelf hardware. You can use it to transform any space into a free and open offline communications and file sharing network. Learn more about PirateBox on our FAQ page!
Install PirateBox
The following instructions are for installing PirateBox on a Raspberry Pi. For support, be sure to check out the Raspberry Pi(rate)Box discussion board on our PirateBox Forum.
Stuff You'll Need
1. Raspberry Pi version A/B (Amazon) (Newegg) (Newegg) Raspberry Pi version B+ (Amazon) (Newegg)
2. SD Card 8GB Card (Amazon)
3. USB Wi-Fi Adapter (compatible devices)
4. 5 volt power supply
5. USB Flash Drive (formatted FAT32 with a single partition) The Kingston DT 16GB works well (Amazon) (Newegg)
6. Ethernet cable
7. Computer with ethernet port
8. 5V/USB Battery (optional)
Installation
1. First, using a BitTorrent client (Transmission for OS X and Linux) (Deluge for Windows, OS X or Linux) on your computer, download a copy of the Raspberry Pi(rate)Box 1.0 image. Note: Please help seed this file for other PirateBox downloaders!
2. Extract the ArchLinuxARM-2014.05-PirateBox*.zip file and follow the Raspberry Pi SD Card Setup instructions (OS X instructions) (Windows instructions) (Linux instructions) to install the image to your SD card.
3. Once you've finished copying the Raspberry Pi(rate)Box image to your SD card, insert it into the Raspberry Pi and connect it via ethernet cable to your home router. Be sure your USB Wi-Fi adapter and FAT32 formatted USB drive are both plugged in (see “Stuff You'll Need” section above for more info on compatible devices).
4. Wait 2-3 minutes for your Pi to fully boot and then open a terminal window (for OS X, go to Applications > Utilities > Terminal; for Windows, install and open PuTTY) and ssh into your PirateBox:
ssh root@alarmpi
The password is: root
5. Once you've logged in, change your password (to something you'll remember!) by using the password command:
passwd
Note: you will be prompted to enter and then confirm your new password.
6. Next you should issue the following command to start your PirateBox:
systemctl start piratebox
7. You should also issue the following command to enable PirateBox to start automatically when you boot your Pi:
systemctl enable piratebox
8. Now remove the ethernet cable from your Pi and disconnect the power. You're now ready to activate the Kareha Image and Discussion Board and the UPnP server. See the Post-Installation instructions below for details.
Post-Installation
Once you have installed or upgraded your PirateBox, follow these final steps to activate the Kareha Image and Discussion Board and configure and start the UPnP media server.
1.Power up your PirateBox (make sure it is not connected via ethernet cable) and join the SSID “PirateBox: Share freely” network. Then open a terminal window (for OS X, go to Applications > Utilities > Terminal; for Windows, install and open PuTTY) and ssh into your PirateBox:
ssh root@192.168.77.1
2. Activate the Kareha Image and Discussion Board by using the vi text editor (vi cheat sheet) to change the admin username and password (ADMIN_PASS and SECRET). Don't forget to remove a leading # in the both lines, if exists:
vi /opt/piratebox/www/board/config.pl
3. Activate the “timesave functionality” once:
/opt/piratebox/bin/timesave.sh /opt/piratebox/conf/piratebox.conf install
4. Point your browser to http://piratebox.lan/board/kareha.pl for the first initialization.
5. Activate the UPnP Media Server by copying over the config file:
cp /etc/minidlna.conf /etc/minidlna.conf.bkp
cp  /opt/piratebox/src/linux.example.minidlna.conf        /etc/minidlna.conf
Note: Optionally, you can edit the config file (change the display name, etc) with:
vi /etc/minidlna.conf
6. Finally, start the UPnP Media Server with:
systemctl start minidlna
systemctl enable minidlna
7. Your PirateBox 1.0 should be ready to use! Be sure to also check out the Raspberry Pi(rate)Box discussion board on our PirateBox Forum.